

Step‑by‑Step Turkey Field Dressing: Preserve Meat & Trophies in 10 to 13 Minutes
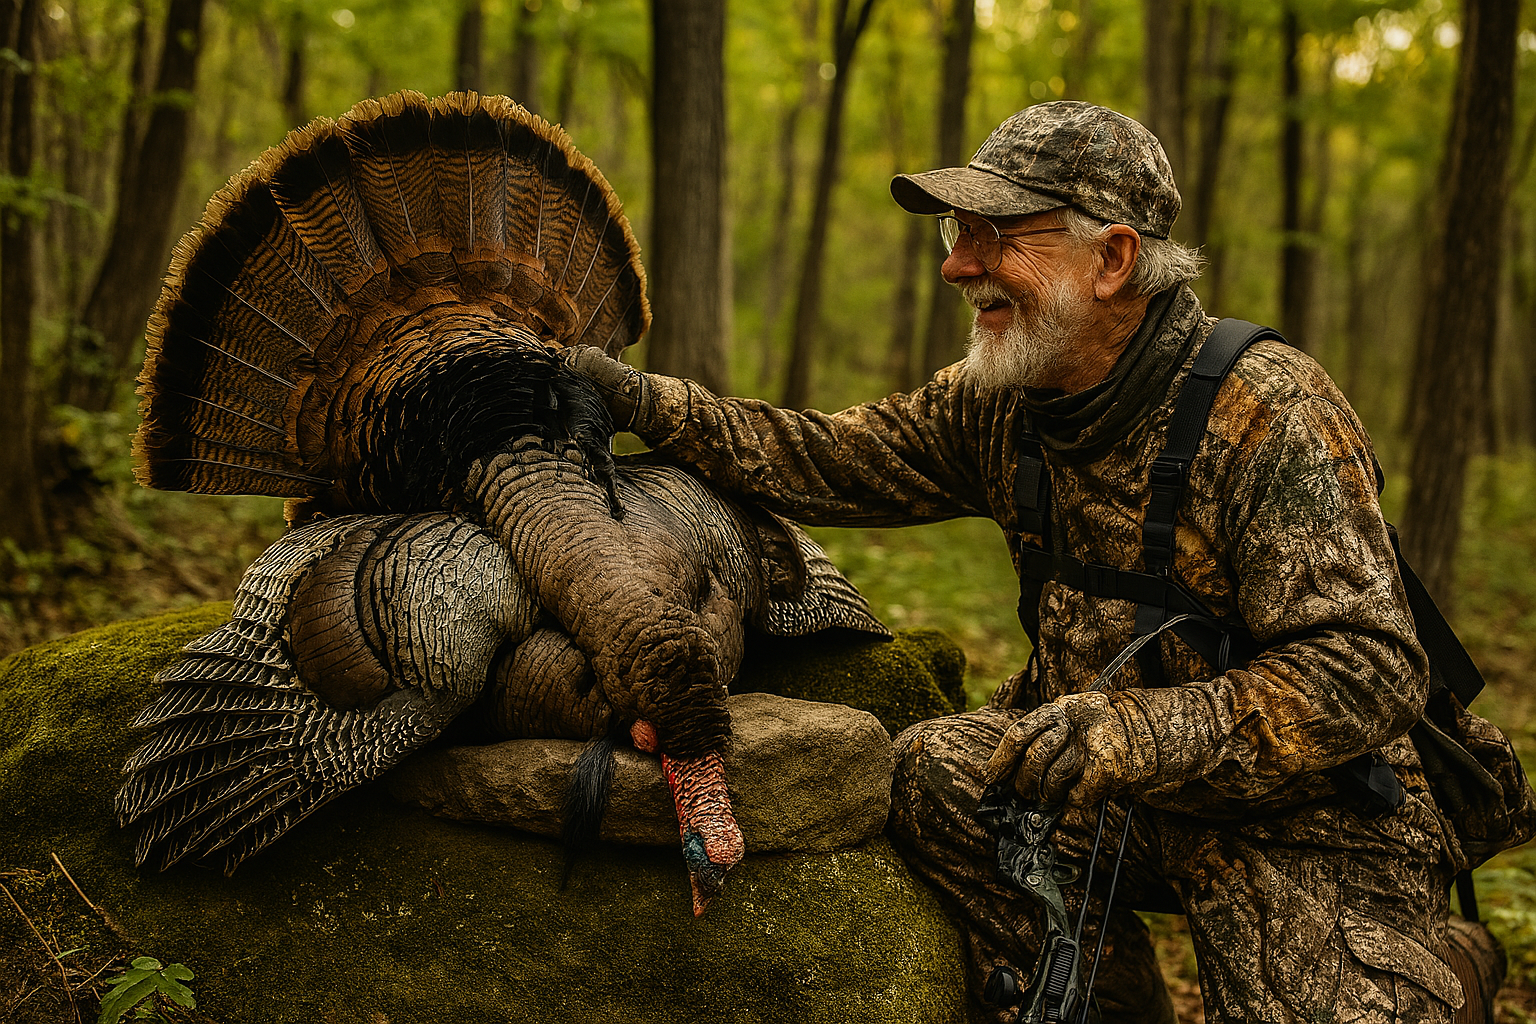
Successfully harvesting a wild turkey is a rewarding experience, but it’s just the beginning of your hunt. To maintain the quality of the meat, feathers, and trophies, you must field dress the turkey immediately after the hunt. With the right techniques, this process can be completed in under 10 to 13 minutes. Field dressing ensures that the meat stays fresh and free from contaminants, and it helps keep the feathers intact if you plan to mount the bird. This step-by-step guide will walk you through the process of gutting the turkey, dressing it, and preparing it for transport or processing.
Why Field Dressing is Essential
Field dressing is not just about cleaning the turkey; it’s about ensuring the quality of the meat and preserving the trophy value of the bird, such as the feathers and head. After a successful hunt, it’s critical to gut a turkey as soon as possible. The longer you wait, the higher the risk of spoilage, especially in warm weather. Field dressing prevents this by removing the internal organs that can cause bacteria to spread, which is crucial for keeping the meat fresh.
Furthermore, when mounting the turkey or preserving the feathers as a trophy, handling the bird carefully during field dressing is essential. Doing it quickly and efficiently helps keep everything intact and in good condition.
Read More: What to Wear When Turkey Hunting
What You’ll Need: Essential Tools for Field Dressing a Turkey
Before you begin, it’s important to gather the right tools. Having a sharp knife, along with a few other accessories, will make the process much smoother.
- Sharp Hunting Knife: A sharp, reliable knife is crucial for making clean cuts through the turkey’s skin and muscle.
- Rubber Gloves: Wearing gloves isn’t necessary, but they can help you stay cleaner and prevent contamination during the process.
- Game Bag or Cooler: If you’re not immediately processing the turkey, a game bag or cooler is essential for keeping the meat cool and clean while you finish your hunt.
- Clean Cloth or Paper Towels: These are useful for cleaning your hands and wiping down the bird, especially when working in the field.
Once you’ve gathered your tools, find a clean spot to begin the process. Ideally, this should be as close to the hunting area as possible, but far enough to maintain order and safety.
Step 1: Position the Turkey for Field Dressing
Place the turkey on its back with its wings spread out to ensure it remains stable while you work. Position it for easy access to the abdomen and vent area, as this is crucial for starting the dressing process effectively.
Whenever possible, lay the bird on a clean tarp or a similar surface to contain any mess. This approach keeps the area tidy, especially when working in the field, and prevents contamination from dirt or debris.
Step 2: Make Your First Cut
To get a turkey, begin by making a shallow incision just below the breastbone in the abdomen. The goal is to open up the vent area without cutting too deeply. A shallow cut will expose the internal cavity and allow you to remove the guts and other organs. Be careful not to puncture any intestines or stomach contents, as this can lead to contamination of the meat.
As you cut, be sure to use a sharp knife to make smooth, controlled cuts. If you’re unsure how deep to cut, don’t go too far; start small and work your way into the bird gently.
Step 3: Cut Around the Vent Area
After making the initial incision, carefully cut around the vent, the small opening at the bottom of the bird, to fully expose the internal organs. Use your knife to make a circular cut around the vent, which will allow you to open the cavity and access the internal organs.
Be sure to stay close to the skin and muscle to avoid accidentally puncturing any of the intestines or stomach. The goal is to expose the internal organs without damaging them in the process.
Step 4: Remove the Internal Organs
Once the vent area is exposed, you can begin to remove the guts. This includes the intestines, stomach, and other internal organs, such as the liver or heart, if you plan on keeping them. Carefully pull out the internal organs, starting from the intestines and working your way out.
Take your time and be gentle, especially if you plan to keep any of the organs for consumption. Some hunters choose to save the liver or heart for recipes, so make sure you don’t cut into them accidentally.
Step 5: Clean the Cavity
Once all the internal organs are removed, it’s time to clean the cavity. Use a clean cloth or paper towel to wipe away any remaining blood, debris, or fluids inside the turkey. This step is crucial to ensure the meat remains fresh and uncontaminated as you continue with the field dressing process.
You want to ensure the cavity is as clean as possible before moving on, whether you’re storing the turkey for later or preparing it immediately.
Step 6: Skinning the Turkey (Optional)
If you plan to skin a turkey rather than pluck it, this is the time to do it. While some hunters prefer to keep the feathers intact, especially if they’re planning to mount the bird, others prefer to remove the skin to make the meat easier to process. If you’re skinning the turkey, use your knife to carefully separate the skin from the meat, making clean cuts along the way.
If you’re planning to preserve the feathers or mount the turkey, it’s best to skip the skinning process and instead focus on plucking the feathers.
Step 7: Prepare for Transport
Once the turkey is dressed, you’re ready to prepare it for transport. Whether you plan to keep the bird whole or break it down into parts, it’s important to keep it cool. Place the dressed turkey in a game bag or cooler to prevent the meat from spoiling. If you intend to process the bird immediately, ensure you have the right tools and space to break down the meat.
Guide to Skinning, Gutting, and Processing Wild Turkey
Field dressing and processing a wild turkey are essential skills for any hunter, and knowing how to skin a turkey, process wild turkey, and gut a turkey properly ensures the best quality meat and preservation of the bird’s parts, especially if you plan on mounting it as a trophy.
How to Skin a Turkey
Skinning a turkey is an option many hunters choose if they prefer a quicker process or if they do not intend to keep the feathers for mounting. Skinning a turkey involves carefully removing the skin from the bird, which can be done by making an incision along the neck and working down the body. This is a faster method than plucking and provides easier access to the meat. Once you’ve made your initial cut, separate the skin from the muscles, taking care not to tear it. Skinning the turkey means you won’t preserve the feathers, but it can speed up the process when preparing the bird for cooking or storage.
How to Process a Wild Turkey
Processing wild turkey involves breaking down the bird into manageable parts for cooking or storage. After gutting a turkey and removing the internal organs, the next step is to separate the turkey into its different components, such as the legs, thighs, and breast. For those who prefer the meat without the bones, processing wild turkey can also involve deboning the bird. Many hunters prefer to keep the meat fresh by refrigerating or freezing it immediately after processing. Proper handling and storage are essential to avoid spoilage. If you’re unfamiliar with how to process wild turkey, it can seem daunting at first, but with practice, you’ll become more efficient and precise.
Gutting a Turkey
Gutting a turkey is one of the first steps after a successful hunt. Gutting a turkey involves making an incision along the vent area to expose the internal organs. Once the bird is opened up, carefully remove the intestines, heart, liver, and other organs. This step is crucial for preserving the meat because it removes the organs that could cause spoilage or contamination if left inside the bird. When done correctly, gutting a turkey prevents bacteria from spreading, keeping the meat clean and fresh.
How to Dress a Turkey
Dressing a turkey is the process of removing the internal organs and preparing the bird for processing. While gutting a turkey is a part of the dressing process, how to dress a turkey can also refer to the removal of any feathers (if you plan to pluck the bird) or skin (if you’re skinning it). Whether you’re gutting or skinny dressing the turkey, the goal is to clean and prepare the bird for processing or storage. A properly dressed turkey will have minimal contamination, and the meat will stay fresh longer.
When it comes to dressing a turkey, it’s important to clean the bird quickly and thoroughly, as any delay can impact the quality of the meat.
In a Nutshell
Field dressing a turkey is an essential skill every hunter should learn. Using proper tools and techniques, you can gut a turkey and quickly preserve the meat, feathers, and trophies. Following a step-by-step guide helps ensure you’re prepared to handle your harvest carefully and maintain the quality of your turkey for eating or display.
FAQs
To gut a turkey, make a shallow incision near the vent area, then carefully pull out the guts and organs, being mindful not to puncture anything that could spoil the meat. Clean the internal cavity afterward.
For beginners, take your time with each step. Start by making a small cut and gradually work your way around the internal cavity. Be sure to avoid puncturing the intestines and clean the bird thoroughly afterward.
Field dress a turkey as soon as possible after the hunt to prevent spoiling. Ideally, within 30 minutes to an hour is the best time frame to keep the meat fresh and safe.
While blue jeans are not the best option for turkey hunting, they can work in a pinch. The key to turkey hunting is camouflage, so try to wear earth-toned or camo clothing to blend into your surroundings.
